Catching your own fish is an incredibly rewarding experience, but knowing how to properly clean and prepare it is just as important. Handling fresh fish correctly not only preserves its natural flavors but also ensures it’s safe and delicious to eat.

Whether you’re a seasoned angler or trying this for the first time, mastering the cleaning process can seem daunting at first. However, with the right techniques and a bit of practice, it becomes second nature.
Let’s dive into the essential steps to get your catch ready for the table—trust me, you’ll want to stick around for these tips! I’ll guide you through everything you need to know in detail below.
Essential Gear and Setup for Cleaning Your Catch
Choosing the Right Tools for Efficiency
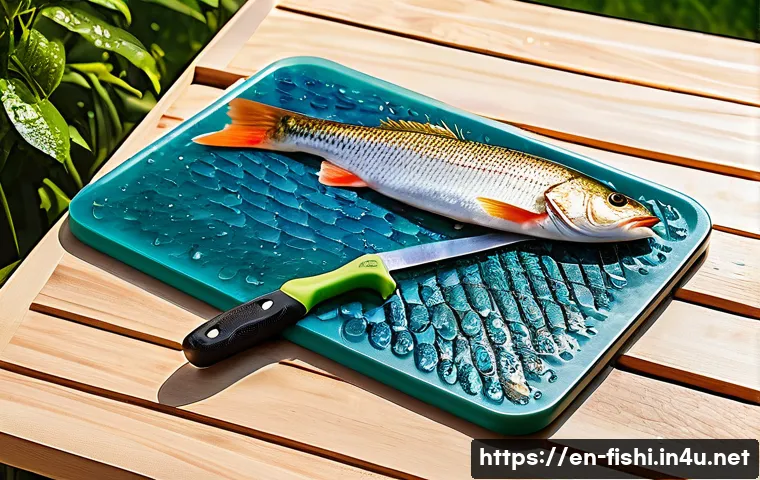
When you’re about to clean your freshly caught fish, having the proper tools makes all the difference. A sharp fillet knife is an absolute must; dull blades just frustrate and increase the risk of slips and cuts.
I personally recommend a flexible, thin blade because it lets you maneuver around bones and skin with ease. Along with that, a sturdy cutting board—preferably plastic or one designed specifically for fish cleaning—helps keep everything stable.
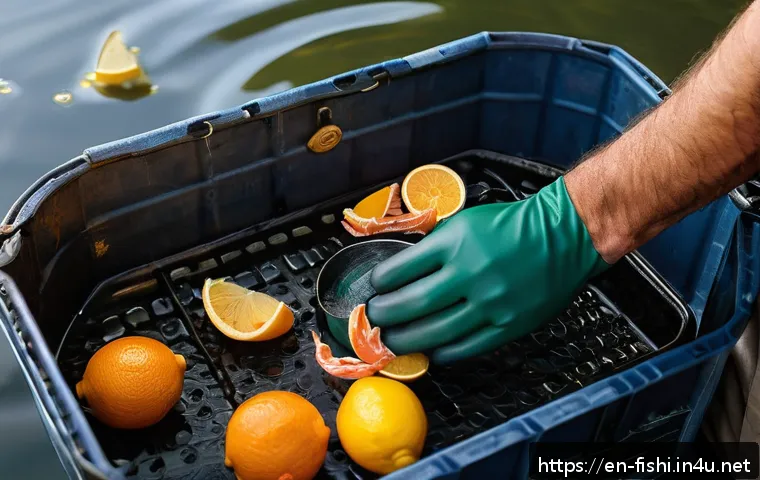
You’ll also want a pair of fish cleaning gloves; they improve grip and protect your hands from sharp fins or hooks. Don’t forget a scaler if you plan to remove scales, although some fish types don’t require scaling at all.
Having everything organized before you start will save you time and keep the process smooth.
Setting Up Your Workspace for Cleanliness
Setting up your cleaning station is about more than just having tools handy; hygiene is key. I usually work outside or in a well-ventilated area near a water source.
Lay down newspaper or a disposable mat to catch scales, guts, and slime for easy cleanup later. If you have access to a hose, it’s great for rinsing the fish and your hands frequently during the process.
Keep a bucket nearby for guts and scraps, so your workspace stays tidy and you don’t have to interrupt the flow by making multiple trips to the trash.
Also, ensure your cutting board is elevated or placed on a non-slip surface to prevent accidents. A well-prepared spot not only speeds up cleaning but also ensures the fish stays as fresh as possible throughout.
Organizing Your Cleaning Process
Before diving in, I like to mentally map out the cleaning steps to avoid second-guessing mid-task. Start by rinsing the fish thoroughly to remove any dirt or debris.
Then, decide whether to scale or skin first depending on the species. I find that scaling before gutting helps reduce mess since scales can fly off. Once scaled, make the gut incision carefully to avoid puncturing organs that could taint the meat.
After gutting, rinse again to clear any blood or residue. Keep your tools clean by wiping the blade often, which maintains sharpness and hygiene. Planning the flow this way minimizes waste and keeps your catch in prime condition.
Mastering the Art of Scaling and Gutting
Effective Techniques for Removing Scales
Scaling can be one of the messiest parts, but it’s crucial for texture and taste. I prefer using a handheld scaler or the back of a knife, moving from tail to head in short, firm strokes.
It’s important not to apply too much pressure to avoid damaging the skin underneath, which can affect how the fish cooks later. Some species have tiny, almost invisible scales that require more patience, so go slow and steady.
Rinsing the fish intermittently helps wash away loose scales and keeps your workspace cleaner. If you’re dealing with very scaled fish like bass or perch, scaling becomes easier with practice and the right tools.
Gutting Without Compromising the Flesh
Gutting is where precision really matters. Start by making a shallow cut from the vent up toward the gills, careful not to puncture the intestines or stomach.
When I started, I often poked too deep, causing a mess and ruining the flesh, but with time, you learn to feel the right pressure. Once the cavity is open, gently pull out the guts, taking care to remove the dark kidney lining along the backbone as well.
This part is often overlooked but essential for preventing bitterness. After gutting, rinse the fish inside and out under cold water to remove blood and residual bits.
This step not only cleans the fish but also helps slow spoilage.
Handling Different Fish Types and Their Specific Needs
Not all fish are cleaned the same way, and knowing the differences can save you trouble. For example, oily fish like mackerel and salmon require extra care because their oils can spoil quickly, so gutting and cleaning need to be swift and thorough.
Flatfish like flounder often require skinning rather than scaling, and their delicate flesh calls for a gentler touch. Some fish have sharp spines or tough skin that demand special gloves or techniques to avoid injury.
When I first encountered a pufferfish, I had to research proper handling due to its toxins. Always research the species you catch to adjust your cleaning method accordingly, which enhances safety and flavor.
Filleting Strategies for Maximum Yield
Step-by-Step Approach to Filleting
Filleting fish can feel intimidating, but breaking it down into clear steps helps immensely. Start by placing the fish flat on your cutting board and making a cut behind the gills down to the backbone.
Then, turn your knife parallel to the backbone and carefully slice along the ribs, using smooth, even strokes. The goal is to separate the flesh cleanly from the bones without leaving much meat behind.
I like to take my time here because rushing leads to wasted fillets. Once one side is done, flip the fish and repeat the process. With practice, you’ll develop a rhythm that minimizes waste and speeds up the process.
Techniques to Remove Pin Bones
Pin bones can be a nuisance when eating fish, so removing them is crucial. After filleting, run your fingers over the flesh to locate these tiny bones.
A pair of fish tweezers or needle-nose pliers works best for pulling them out cleanly. I always pull bones out in the direction they are pointing to avoid tearing the flesh.
This step takes patience, especially with fish like trout or bass, which have numerous pin bones. Skipping this part often results in an unpleasant eating experience, so I never skip it.
A clean fillet without bones makes your catch much more enjoyable and appealing.
Skinning Fillets for Different Recipes
Whether to skin a fillet depends on your recipe and preference. For crispy pan-fried dishes, leaving the skin on can add fantastic texture and flavor.
However, for delicate recipes like ceviche or sushi, skinning is preferable. To skin a fillet, place it skin-side down and make a small cut between the flesh and skin at the tail end.
Hold the skin tightly and slide your knife gently between skin and flesh, angling the blade slightly downward. It takes a steady hand, but once mastered, it’s simple and fast.
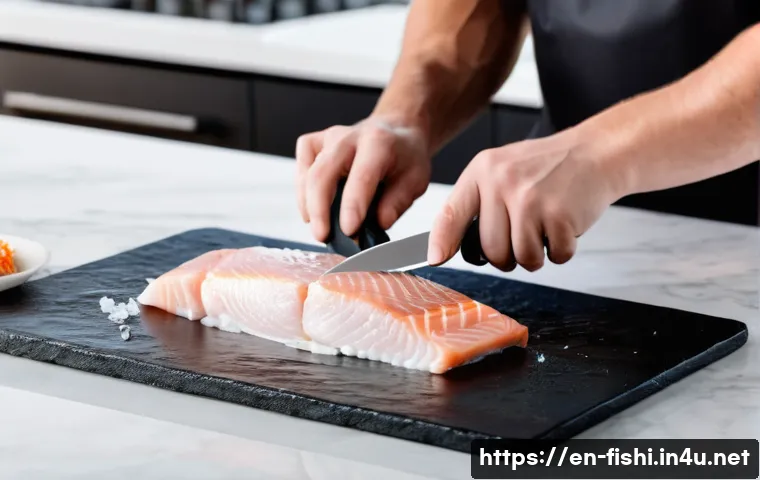
I find that skinning right before cooking preserves freshness better than skinning in advance.
Maintaining Freshness and Safety Post-Cleaning
Proper Storage Techniques to Extend Shelf Life
Once your fish is cleaned and filleted, how you store it makes a huge difference in taste and safety. If you’re not cooking immediately, wrap the fillets tightly in plastic wrap or vacuum seal them to prevent exposure to air, which causes drying and spoilage.
Keep the fish cold on ice or in the refrigerator at a temperature below 40°F (4°C). I usually place the wrapped fillets on a bed of crushed ice in a shallow pan, replenishing the ice as it melts.
For longer storage, freezing is the best option; just remember to label and date your packages. Proper storage preserves flavor and texture, so the fish tastes like it was just caught when you’re ready to cook.
Signs to Watch For to Ensure Fish Safety
Knowing when fish is no longer safe to eat is critical. Fresh fish should have a mild, ocean-like smell—not fishy or sour. The flesh should be firm and bounce back when pressed, and the eyes should be clear and bulging, not sunken or cloudy.
After cleaning, if you notice any discoloration, sliminess, or off-odors developing, it’s best to discard the fish. I’ve learned the hard way that eating questionable fish can lead to serious food poisoning.
When in doubt, trust your senses and err on the side of caution. Keeping your cleaning area sanitary also reduces contamination risks.
Preparing Fish for Freezing and Thawing
Freezing fish properly is an art form in itself. Before freezing, I rinse the fillets and pat them dry with paper towels. Wrapping the fish tightly in plastic wrap followed by aluminum foil or placing it in a vacuum-sealed bag prevents freezer burn and preserves moisture.
Label your packages with the date so you can keep track of freshness. When it’s time to thaw, do so gradually by moving the fish from the freezer to the refrigerator overnight.
Avoid thawing at room temperature, which encourages bacterial growth. For quicker thawing, submerge the sealed fish in cold water, changing the water every 30 minutes.
Proper freezing and thawing retain the quality and safety of your catch.
Quick Reference: Cleaning and Preparation Tools and Tips
| Item | Purpose | Tips |
|---|---|---|
| Fillet Knife | Precision cutting and filleting | Keep blade sharp and flexible for easy maneuvering |
| Fish Scaler | Removing scales quickly | Use gentle strokes from tail to head; rinse frequently |
| Cutting Board | Stable surface for cleaning | Choose non-slip, easy-to-clean materials like plastic |
| Gloves | Protect hands and improve grip | Use puncture-resistant gloves for safety |
| Tweezers/Pliers | Removing pin bones | Pull bones in the direction of growth for clean removal |
| Ice or Cooler | Preserving freshness after cleaning | Keep fish cold below 40°F; replenish ice as needed |
| Plastic Wrap/Vacuum Sealer | Packaging for storage/freezing | Wrap tightly to prevent freezer burn and air exposure |
Cleaning Up and Post-Processing Tips
Efficient Waste Disposal and Cleanup
Disposing of fish waste properly is essential for hygiene and environmental reasons. I always separate the guts, scales, and bones into a sealed bag or container to minimize odor and mess.
If you’re near water, avoid dumping waste directly to prevent attracting wildlife or polluting. Instead, use composting methods or check local disposal guidelines for fish waste.
Cleaning your tools and workspace immediately after finishing prevents lingering smells and bacterial growth. I find that rinsing everything with hot, soapy water followed by a vinegar or bleach solution works wonders.
Keeping things clean not only helps for your next fishing trip but also maintains a pleasant home environment.
Using Leftover Fish Parts Creatively
Don’t throw away the heads, bones, or skin! These parts are excellent for making homemade fish stock or broth, which adds rich flavor to soups and stews.
I often simmer fish bones with aromatics like onion, celery, and herbs to create a deep, savory base. Fish skin can be crisped up in a pan for a tasty snack or garnish.
Even the fish guts can be composted in an environmentally friendly garden setup. By maximizing the use of your catch, you reduce waste and enhance your culinary repertoire.
It’s a great way to honor the effort of fishing and make the most of your fresh catch.
Maintaining Your Equipment for Longevity
Your tools are only as good as their upkeep. After every cleaning session, I sharpen my fillet knife and thoroughly dry all equipment to prevent rust and dullness.
Storing knives in a sheath or knife block avoids accidental damage and keeps blades sharp. Scalers and other gear should be rinsed and dried to avoid corrosion.
Regular maintenance not only extends the life of your tools but also ensures safety and precision in future fish cleaning. Taking care of your gear is an investment in both your cooking and fishing experience.
Wrapping Up
Cleaning your catch efficiently is both an art and a practical skill that enhances your fishing experience. With the right tools, a well-organized setup, and attention to detail, you can enjoy fresher, tastier fish every time. Remember, a clean workspace and proper handling not only improve flavor but also ensure safety. Embrace the process, and you’ll find it becomes second nature before long.
Useful Tips to Keep in Mind
1. Always keep your fillet knife sharp and flexible to make precise cuts and reduce waste.
2. Set up your cleaning station near a water source with proper drainage and a non-slip surface for safety and hygiene.
3. Scale your fish before gutting to minimize mess and make the process smoother.
4. Remove pin bones carefully with tweezers to improve the eating experience and avoid surprises.
5. Store cleaned fish on ice or in vacuum-sealed bags to maintain freshness and extend shelf life.
Key Takeaways
Efficient fish cleaning starts with having the right gear and a clean, organized workspace. Understanding different fish species’ needs helps tailor your cleaning method for the best results. Maintaining your tools and proper waste disposal contribute to safety and longevity of your equipment. Lastly, proper storage and handling after cleaning ensure that your catch stays fresh, safe, and delicious for your meals.
Frequently Asked Questions (FAQ) 📖
Q: What is the best way to clean a freshly caught fish to ensure it tastes great and is safe to eat?
A: The key to cleaning fresh fish is to act quickly after catching it. Start by rinsing the fish in cold water to remove any slime or debris. Then, use a sharp knife to scale the fish by scraping from the tail toward the head.
Next, make a careful incision along the belly and remove the guts, being sure to discard any bloodline as it can cause a bitter taste. Rinse the cavity thoroughly with cold water.
Keeping the fish cold throughout the process preserves its flavor and prevents bacterial growth. I’ve found that doing this promptly and gently really helps the fish stay fresh and delicious.
Q: How do I properly fillet a fish after cleaning it?
A: Filleting can seem tricky at first, but with a steady hand and a sharp fillet knife, it becomes easier. Lay the cleaned fish flat on a cutting board and make a cut behind the gills down to the backbone.
Then, carefully run your knife along the backbone towards the tail, keeping the blade as close to the bones as possible to get maximum meat. Flip the fish and repeat on the other side.
Removing pin bones with tweezers is important for a smooth eating experience. When I first tried filleting, I learned that patience and using a flexible knife made a big difference in getting nice, clean fillets.
Q: Are there any safety tips I should keep in mind when handling and preparing fresh fish?
A: Absolutely. Safety starts with cleanliness—always wash your hands, knives, and surfaces before and after handling fish to avoid cross-contamination. Use separate cutting boards if possible.
Keep the fish cold on ice until you’re ready to clean and prepare it. Also, be cautious with sharp knives and take your time to avoid accidents. Cooking fish to the proper internal temperature (145°F or 63°C) ensures it’s safe to eat.
From my experience, maintaining good hygiene and handling fish carefully not only protects your health but also preserves the fish’s quality.